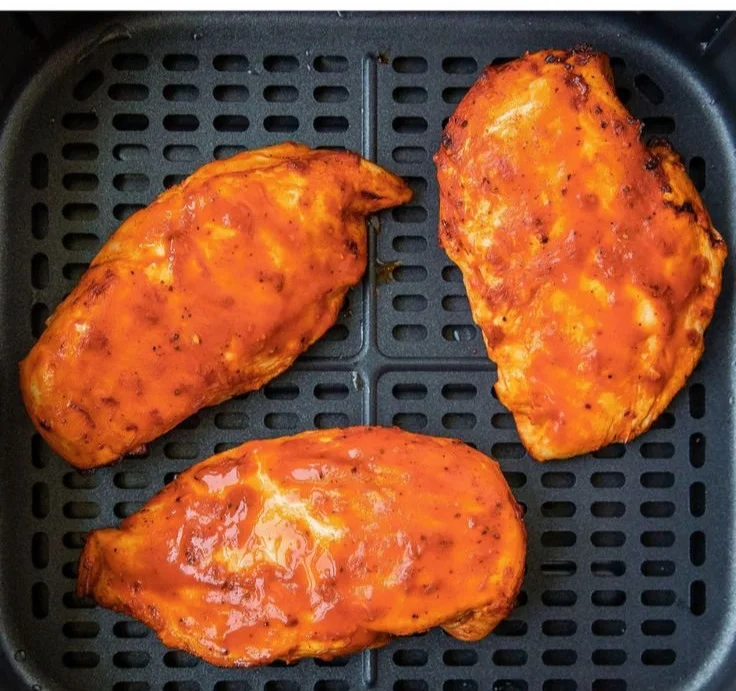
Air Fried Buffalo Chicken is a perfect mix of crispy texture and zesty flavor that makes it a go-to recipe for any weeknight dinner or game day feast. This dish is incredibly easy to prepare, and with just a few ingredients, you’ll have a satisfying meal that packs a punch of spicy goodness. Air frying keeps the chicken juicy without the extra calories, making it a healthier option while delivering that classic buffalo kick.
Why You’ll Love Air Fried Buffalo Chicken
- Quick Preparation: This recipe comes together in under 30 minutes, making it an excellent choice for busy evenings.
- Healthier Choice: Air frying uses less oil than traditional frying, resulting in a healthier dish without sacrificing flavor.
- Simple Ingredients: With only a few staple ingredients, you’ll have everything you need on hand to whip this up anytime.
- Versatile Flavor: Adjust the level of spiciness to suit your taste, and enjoy it with different dipping sauces or sides.
- Perfect for Meal Prep: Cook in bulk and enjoy throughout the week for quick lunches or dinners.
Recipe Overview
- Prep Time: 10 minutes
- Cook Time: 15 minutes
- Total Time: 25 minutes
- Servings: 4
- Difficulty Level: Easy
Ingredients You’ll Need for Air Fried Buffalo Chicken
- Chicken: 4 boneless, skinless chicken breasts
- Buffalo Sauce: 1 cup, store-bought or homemade
- Olive Oil: 1 tablespoon (for added moisture and flavor)
- Seasoning: Salt and pepper, to taste
- Optional for Serving: Celery sticks and blue cheese dressing
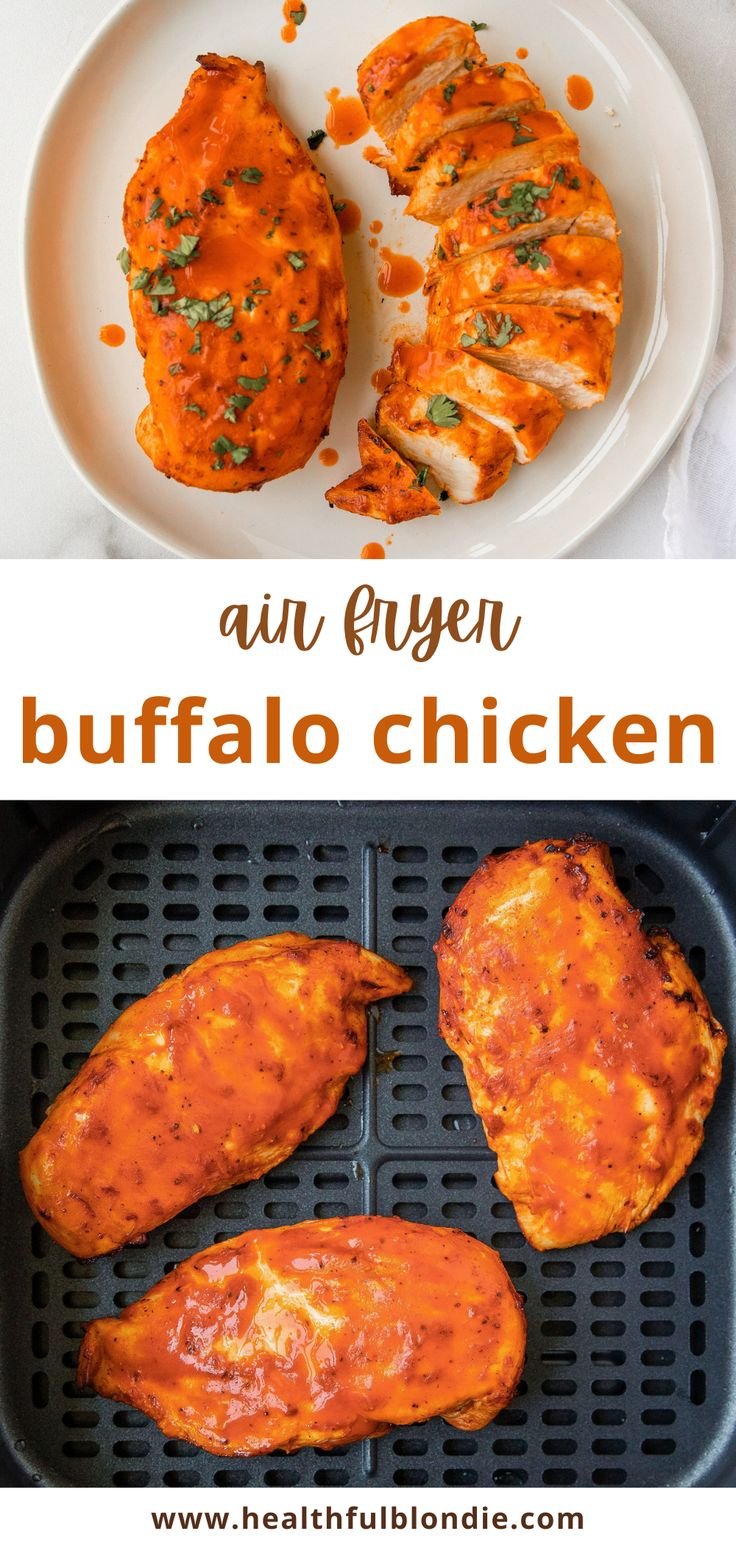
How to Make Air Fried Buffalo Chicken
- Preheat the Air Fryer: Set your air fryer to 400°F (200°C). This helps achieve that crispy exterior.
- Prepare the Chicken: Season the chicken breasts with salt, pepper, and drizzle the olive oil over them. This provides flavor and helps the buffalo sauce stick.
- Coat with Buffalo Sauce: Pour the buffalo sauce over the seasoned chicken breasts, ensuring they are evenly coated.
- Air Fry the Chicken: Place the coated chicken in the air fryer basket. Cook for about 12-15 minutes, flipping halfway, until the internal temperature reaches 165°F (75°C).
- Rest and Serve: Remove the chicken from the fryer and let it rest for a few minutes. Serve with celery sticks and blue cheese dressing, if desired.
Tips for Success
- Use a Meat Thermometer: Check the internal temperature to ensure your chicken is fully cooked and juicy.
- Don’t Overcrowd the Basket: Fry in batches if necessary to ensure that each piece cooks evenly.
- Adjust the Spice: Feel free to modify the amount of buffalo sauce to suit your heat preference.
- Let it Rest: Allowing the chicken to rest after cooking helps keep it tender and juicy.
- Experiment with Sauces: Try different sauces for unique flavors, like barbecue or garlic parmesan.
Easy Variations
- Spice Level: Mix in some cayenne pepper or paprika for extra heat.
- Cheesy Twist: Top the chicken with shredded cheese during the last couple of minutes of cooking for a cheesy buffalo chicken.
- Taco Style: Shred the air-fried chicken and use it in tacos with your favorite toppings.
- Veggie Add-ins: Add bell peppers or onions to the air fryer basket for an easy one-pan meal.
- Dipping Sauce Swap: Serve with ranch dressing instead of blue cheese for a different flavor profile.
What to Serve with Air Fried Buffalo Chicken
- Celery Sticks: A classic pairing that offers a refreshing crunch alongside the spicy chicken.
- Salad: A crisp garden salad balances the richness of the chicken.
- Rice or Quinoa: Serve over rice or quinoa to soak up the buffalo sauce.
- Sweet Potato Fries: Their sweetness complements the spice of the chicken perfectly.
- Pasta Salad: A cold pasta salad provides a nice contrast to the warm, spicy chicken.
Storage and Reheating
- Refrigerator Storage: Store any leftovers in an airtight container in the refrigerator for up to 3 days.
- Freezer Storage: If you want to freeze, wrap the cooked chicken tightly in plastic wrap and then in foil. It can be frozen for up to 3 months.
- Reheating: Reheat leftovers in the air fryer at 350°F (175°C) for about 5-7 minutes to restore the crispiness, or use the microwave for a quicker option.
- Preserving Texture: Avoid reheating on high heat to keep the chicken juicy and not dry out.
Common Mistakes to Avoid
- Not Preheating the Air Fryer: Skipping this step can affect cooking time and texture.
- Using Cold Chicken: Let chicken sit at room temperature for about 15 minutes before cooking for more even results.
- Ignoring Doneness: Always check the internal temperature; undercooked chicken is unsafe.
- Overcooking: Keep an eye on cooking time, as air fryers can vary.
- Neglecting Seasoning: Be sure to season liberally for maximum flavor.
Air Fried Buffalo Chicken: Background & Cultural Inspiration
Buffalo chicken originated in Buffalo, New York, where it was first served in the Anchor Bar in 1964 as a late-night snack. It quickly gained popularity for its tangy and spicy flavor, becoming a staple in American cuisine, especially during sports events. Traditionally deep-fried, air frying offers a lighter take on this classic dish while still delivering the fierce heat that buffalo sauce lovers crave. This recipe celebrates that spirit, making it accessible to anyone looking for a quick and delicious meal.
Frequently Asked Questions
Can I use skin-on chicken for this recipe?
Yes, you can use skin-on chicken breasts, but the cooking time may vary slightly.
How can I make this recipe dairy-free?
Simply avoid adding blue cheese dressing and choose a dairy-free dipping sauce or serve it with additional veggies.
What should I do if the chicken is not cooked through?
If the chicken is undercooked, return it to the air fryer, and cook in 2-minute increments until it reaches the proper internal temperature.
Can I marinate the chicken overnight?
Absolutely! Marinating the chicken in buffalo sauce overnight will enhance the flavor.
Is this recipe good for meal prep?
Yes, it’s an excellent choice for meal prep! Just cook, store, and enjoy meals throughout the week.
Final Thoughts
Air Fried Buffalo Chicken is a fantastic choice for a quick meal that satisfies your cravings with its bold flavors and satisfying texture. This recipe is simple enough for beginner cooks while still being packed with flavor, making it a winner for any household. Whether you serve it as a main dish or slightly modify it for tacos or wraps, this recipe is sure to become a favorite. Try it out for your next dinner or game day gathering!