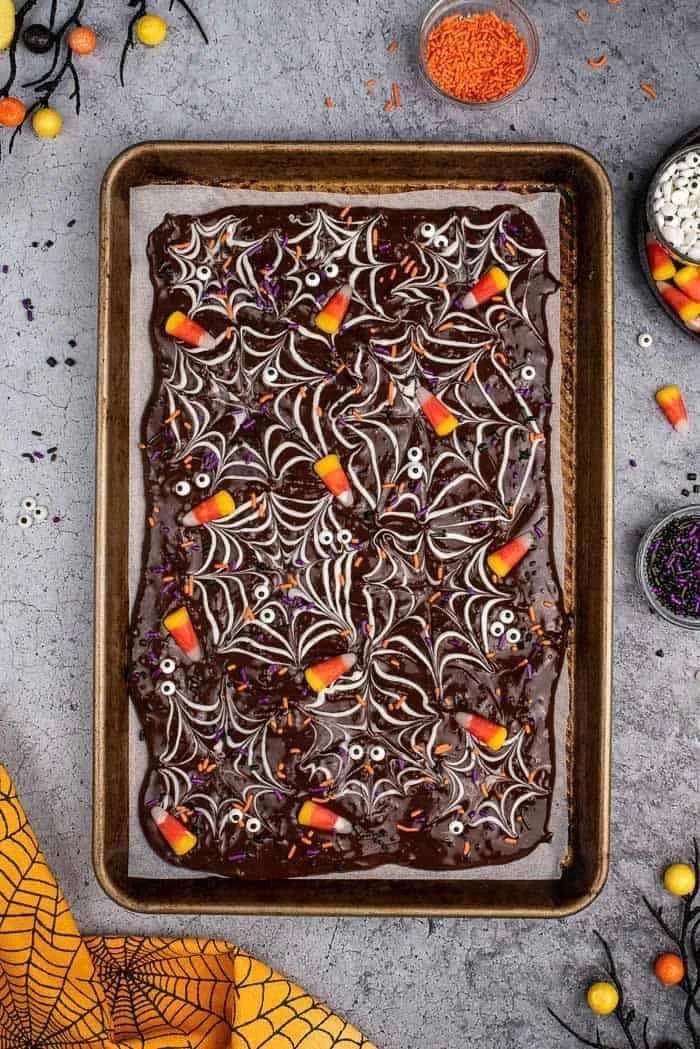
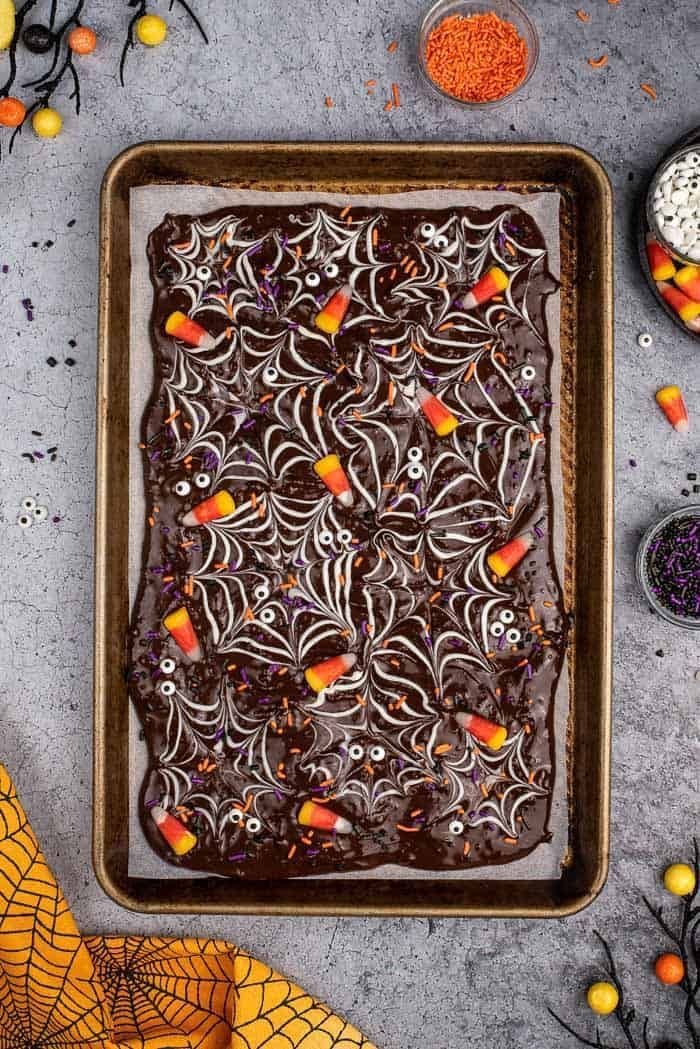
The Halloween Chocolate Bark Recipe is a delightful treat that brings fun and flavor to your spooky celebrations. This simple yet festive recipe combines rich chocolate with colorful Halloween-themed candies, making it a perfect activity for kids and adults alike. With minimal effort and a short prep time, you can create a delicious treat that adds a touch of magic to any gathering.
Why You’ll Love Halloween Chocolate Bark
- Easy to Make: This recipe requires very little time and skill, making it ideal for beginner cooks who want to impress family and friends.
- Customizable: With a variety of candies and toppings, you can easily adapt this bark to fit your preferences or whatever treats you have on hand.
- Perfect for Halloween Parties: This festive treat not only tastes great but also looks visually appealing, making it an excellent addition to any Halloween celebration.
- Great for Homemade Gifts: Wrap up the broken pieces in fun packaging to give as gifts, making it a thoughtful gesture that’s sure to be appreciated.
- Fun Activity for Kids: Involve your little ones in the process; they’ll love sprinkling their favorite candies over the chocolate!
Recipe Overview
- Prep Time: 10 minutes
- Cook Time: 5 minutes
- Total Time: 15 minutes (plus cooling)
- Servings: About 10 pieces
- Difficulty Level: Easy
Ingredients You’ll Need for Halloween Chocolate Bark
- 10 ounces chocolate (dark, milk, or white)
- 1 cup Halloween-themed candies (such as candy corn, gummy worms, or chocolate pumpkin candies)
- Sprinkles (optional)
You can choose any type of chocolate based on your preference for sweetness and flavor. Dark chocolate gives a rich taste, while milk chocolate is sweeter. If you’re looking for a fun twist, white chocolate adds a nice contrast to colorful toppings.
here
How to Make Halloween Chocolate Bark
- Prepare Baking Sheet: Line a baking sheet with parchment paper, ensuring it’s completely covered to prevent sticking.
- Melt the Chocolate: Place the chocolate in a microwave-safe bowl. Heat in 30-second intervals, stirring after each, until fully melted and smooth. Be careful not to overheat.
- Spread Chocolate: Pour the melted chocolate onto the prepared baking sheet. Use a spatula to spread it into an even layer about ¼ inch thick.
- Add Toppings: Immediately sprinkle the Halloween candies and sprinkles over the melted chocolate while it’s still warm.
- Set the Bark: Allow the chocolate to set at room temperature or place it in the refrigerator for about 30 minutes until firm.
- Break and Serve: Once set, break the chocolate into pieces and serve on a platter or package for gifts.
Tips for Success
- Avoid Overheating: Be cautious while melting chocolate; even a few seconds too long can cause it to seize.
- Spread Evenly: Use a spatula to create an even layer for uniform thickness, which helps with even cooling and texture.
- Choose the Right Toppings: Go for a mix of textures and flavors—sweet, crunchy, soft—to keep each bite interesting.
- Room Temperature Setting: If you have time, letting the chocolate set at room temperature may yield a creamier texture compared to refrigeration.
Easy Variations
- Nutty Chocolate Bark: Add chopped nuts like almonds or peanuts for an extra crunch.
- Dried Fruit Addition: Incorporate chopped dried fruits like cranberries or apricots to balance the sweetness with some tartness.
- Spooky Design: Use candy eyes or chocolate molds for themed shapes if you’re feeling creative.
- Mint Chocolate Bark: Add a few drops of peppermint extract to melted chocolate for a refreshing twist.
What to Serve with Halloween Chocolate Bark Recipe
- Hot Chocolate: A warm drink that complements the sweetness of the bark.
- Cookies: Serve alongside your favorite cookies for a mixed dessert platter.
- Ice Cream: Enjoy pieces of bark over a scoop of vanilla or pumpkin spice ice cream.
- Fruit: Fresh fruit can provide a nice contrast and balance to the sweetness.
Storage and Reheating
- Refrigerator Storage: Store any leftover bark in an airtight container at room temperature for up to one week.
- Freezer Storage: For longer storage, wrap pieces in wax paper and store in a freezer-safe bag for up to three months.
- Reheating: If desired, allow the chocolate to come to room temperature before serving again for the best texture.
Common Mistakes to Avoid
- Using Cold Ingredients: Ensure all ingredients are at room temperature before working to prevent chocolate from hardening too quickly.
- Skipping Parchment Paper: Always line your baking sheet; otherwise, you’ll struggle to remove the bark.
- Ignoring Chocolate Quality: Use quality chocolate for the best flavor; cheap chocolate can result in a less pleasant texture and taste.
Halloween Chocolate Bark: Background & Cultural Inspiration
Chocolate bark has origins in various cultures where chocolate was enjoyed in different forms. With Halloween being a celebration of candy and treats, creating chocolate bark offers an engaging way to celebrate with friends and family. The use of Halloween-themed candies reflects the playful and festive spirit of the season, making it a popular choice in many households during this time.
Frequently Asked Questions
Can I use different types of chocolate?
Yes, you can mix different types of chocolate or use one type. Milk, dark, white, or even a combination work well together.
How should I store leftover bark?
Wrap it in an airtight container and keep it at room temperature for up to a week, or store it in the freezer for up to three months.
Can I make this ahead of time?
Absolutely! Chocolate bark can be made several days in advance and stored until you’re ready to serve.
What if my chocolate seizes while melting?
If this happens, try to stir in a small amount of vegetable oil or cream to salvage it, though results may vary.
Are there allergy-friendly options for this recipe?
You can use dairy-free chocolate and adjust toppings to include allergy-friendly options like seeds, allergy-safe candy, or fruits if preferred.
Final Thoughts
The Halloween Chocolate Bark Recipe is not only simple to make, but it also offers endless customization possibilities. Whether you’re looking for a festive treat for Halloween or a fun activity to do with kids, this recipe checks all the boxes. Try it out and enjoy the delicious combination of chocolate and your favorite Halloween candies!
PrintHalloween Chocolate Bark
A delightful treat combining rich chocolate with colorful Halloween-themed candies, perfect for spooky celebrations.
- Prep Time: 10 minutes
- Cook Time: 5 minutes
- Total Time: 15 minutes
- Yield: 10 pieces
- Category: Dessert
- Method: No-Cook
- Cuisine: American
- Diet: Vegetarian
Ingredients
- 10 ounces chocolate (dark, milk, or white)
- 1 cup Halloween-themed candies (such as candy corn, gummy worms, or chocolate pumpkin candies)
- Sprinkles (optional)
Instructions
- Prepare Baking Sheet: Line a baking sheet with parchment paper, ensuring it’s completely covered to prevent sticking.
- Melt the Chocolate: Place the chocolate in a microwave-safe bowl. Heat in 30-second intervals, stirring after each, until fully melted and smooth. Be careful not to overheat.
- Spread Chocolate: Pour the melted chocolate onto the prepared baking sheet. Use a spatula to spread it into an even layer about ¼ inch thick.
- Add Toppings: Immediately sprinkle the Halloween candies and sprinkles over the melted chocolate while it’s still warm.
- Set the Bark: Allow the chocolate to set at room temperature or place it in the refrigerator for about 30 minutes until firm.
- Break and Serve: Once set, break the chocolate into pieces and serve on a platter or package for gifts.
Notes
Be careful not to overheat the chocolate and ensure all ingredients are at room temperature for best results.