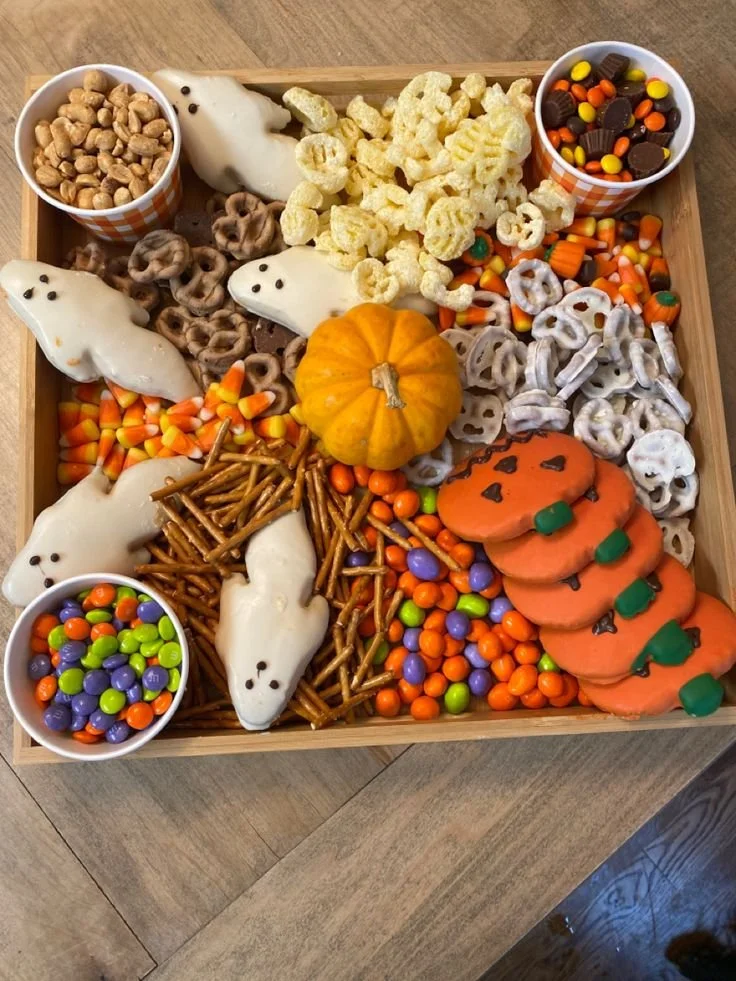
A Halloween Charcuterie Board is a delightful way to celebrate the spooky season while indulging in a variety of tasty treats. This fun and festive board allows for endless creativity and personalization, making it perfect for parties, family gatherings, or a cozy night in. With colorful cheeses, cured meats, and Halloween-themed snacks, you’ll want to bring this seasonal delight to your table.
Why You’ll Love Halloween Charcuterie Board
- Creative Presentation: Crafting a visually stunning board lets you express your creativity. Arrange the ingredients in engaging patterns and shapes that evoke the Halloween spirit.
- Customizable: Tailor the board to your preferences and dietary restrictions. Choose your favorite cheeses, meats, and festive snacks to create a unique spread.
- Easy to Assemble: There’s no cooking required! Simply gather your ingredients, and assemble them on a board. This makes it an easy option for hosts who are short on time.
- Perfect for Sharing: This board is made for sharing, making it ideal for gatherings. Guests can pick and choose their favorites, encouraging conversation and camaraderie.
- Seasonally Themed: With its Halloween touches, this board is a festive treat in itself. It can easily become the star attraction of your Halloween party.
- Versatile Pairings: Enjoy the board as a light meal, appetizer, or a sweet treat. Pair it with wine, cider, or festive cocktails to enhance the overall experience.
Recipe Overview
- Prep Time: 15 minutes
- Cook Time: 0 minutes
- Total Time: 15 minutes
- Servings: 6-8
- Difficulty Level: Easy
Ingredients You’ll Need for Halloween Charcuterie Board
- Assorted Cheeses: Choose a variety of textures and flavors such as cheddar, brie, and goat cheese for a balanced presentation.
- Cured Meats: Include a selection of salami, prosciutto, and pepperoni for a protein-packed option.
- Crackers and Breadsticks: Provide a crunchy element with assorted crackers and breadsticks that balance the other flavors.
- Olives and Pickles: A mix of olives and pickles adds a tangy zip to the board.
- Fruits: Fresh fruits like grapes and apples, along with dried apricots, add sweetness and color.
- Nuts: Almonds and walnuts not only provide crunch but also enhance the board’s visual appeal.
- Chocolate Treats: Add festive characters such as candy corn or Halloween-themed chocolates to bring a fun element to the presentation.
- Vegetable Sticks: Carrots, celery, and bell pepper sticks add a fresh, crunchy component.
- Dips: Include hummus and guacamole for a creamy contrast.
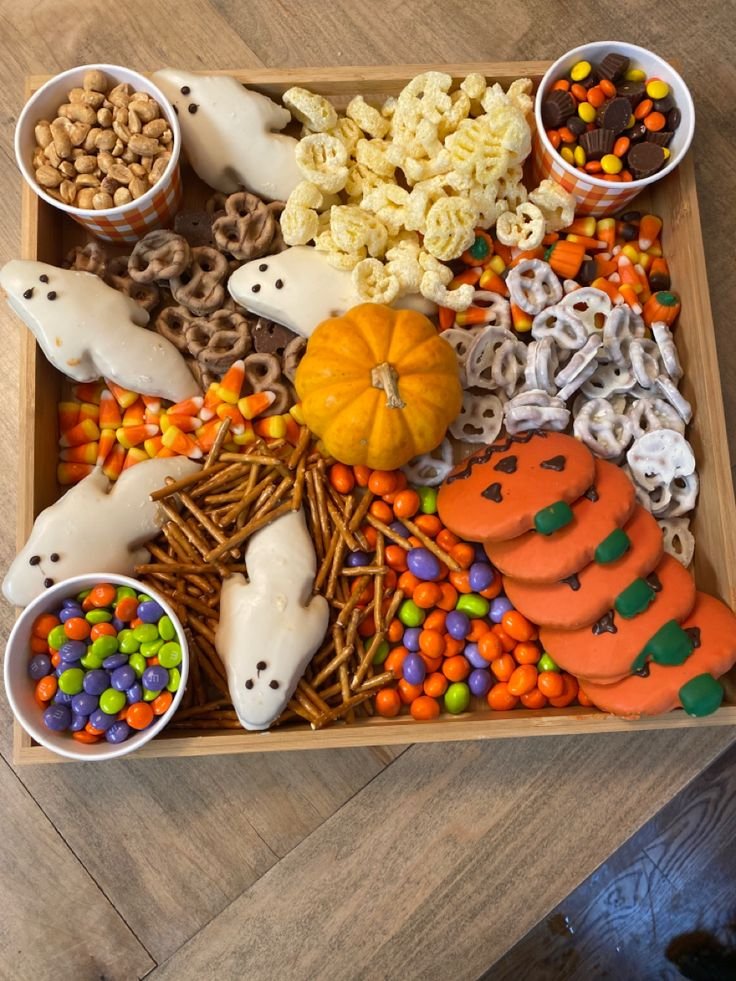
How to Make Halloween Charcuterie Board
- Choose Your Board: Select a large cutting board or platter to arrange your charcuterie, ensuring you have enough space for all ingredients.
- Add Meats and Cheeses First: Start by placing the larger items—cheeses and cured meats—onto the board, spreading them out to create a balanced look.
- Fill in with Crackers: Distribute various crackers and breadsticks around the cheeses and meats to enhance texture and visual interest.
- Add Fruits and Nuts: Cluster groups of fresh fruits and nuts throughout the board to provide bursts of color and flavor.
- Incorporate Pickles and Dips: Use small bowls for olives, pickles, and dips, or place them directly on the board. Be sure to space them out for easy access.
- Finish with Seasonal Treats: Scatter Halloween-themed chocolates or candy corn across the board to complete the festive feel.
- Serve with Utensils: Provide small utensils for easy grabbing and sharing, ensuring everyone gets to enjoy the treats.
Tips for Success
- Balance Flavors: Aim for a mix of salty, sweet, tangy, and creamy elements to keep flavors interesting.
- Avoid Overcrowding: Leave space between items to enhance the visual appeal and make it easy for guests to serve themselves.
- Use Seasonal Themes: Incorporate colors and shapes associated with Halloween, such as oranges, blacks, and spooky cookie shapes, to heighten the festive vibe.
- Check Freshness: Ensure all ingredients, especially fruits and vegetables, are fresh for optimal flavor and presentation.
- Experiment with Shapes: Cut cheeses and meats into fun shapes or arrange ingredients in festive designs for added charm.
Easy Variations
- Themed Boards: Create a holiday-specific board by using Thanksgiving or Christmas-inspired snacks.
- Healthier Options: Swap out crackers for whole-grain options or use fresh veggies as the primary vehicle for dips.
- Vegan Twist: Replace cheese and meats with plant-based alternatives like hummus, nuts, and vegan cheese.
- Add Sweets: Incorporate seasonal treats like pumpkin spice candies or gingerbread cookies for a dessert-inspired option.
- Savory Focus: Concentrate on savory flavors by using aged cheeses, marinated vegetables, and artisan bread.
What to Serve with Halloween Charcuterie
- Wine: A light white wine or a crisp rosé pairs well with charcuterie’s varied flavors.
- Cider: Hard cider offers a refreshing match, enhancing the fall feeling.
- Festive Cocktails: Consider cocktails featuring seasonal spices such as cinnamon or pumpkin.
- Sparkling Water: For non-alcoholic options, flavored sparkling water or soda can be a refreshing choice.
- Cheese Cracker Pairings: Serve alongside baked goods like savory biscuits or bread rolls for added flavor.
Storage and Reheating
- Refrigerator Storage: Keep leftovers in an airtight container and consume them within 2-3 days for the best quality.
- Freezer Storage: Because of the perishable nature of many ingredients, freezing is not recommended for a charcuterie board.
- Best Reheating Method: If you have leftover dips, gently reheat them in the microwave for a few seconds if needed.
- Preserve Texture: To keep ingredients fresh, store fruits separate from cheeses and meats until ready to serve.
- Meal Prep Note: Most of the ingredients can be prepped a day in advance; assemble them just before serving for freshness.
Common Mistakes to Avoid
- Choosing Incompatible Flavors: Avoid including ingredients that clash, such as extremely pungent cheeses with light wines.
- Ignoring Temperature: Serve your cheeses at room temperature for the best flavor; take them out of the fridge about 30 minutes before serving.
- Overcomplicating the Board: Keep it simple. Too many ingredients can make the presentation look cluttered and overwhelming.
- Not Considering Guest Preferences: Be aware of dietary restrictions, and provide alternatives to ensure everyone has something to enjoy.
- Forgetting Utensils: Ensure you include proper serving tools for both the dips and the board items, as this will enhance the ease of serving.
Halloween Charcuterie Board: Background & Cultural Inspiration
Charcuterie boards have roots in French cuisine, historically showcasing various cured meats and cheeses. This concept has evolved to include a wider variety of ingredients and has seen a surge in popularity in recent years as a social dining experience. The Halloween theme adds an extra layer of fun, allowing families and friends to gather and celebrate the season creatively. By drawing from a range of culinary traditions, the charcuterie board reflects regional tastes while being adaptable to any occasion.
Frequently Asked Questions
Can I make the Halloween Charcuterie Board ahead of time?
Yes, prepare the ingredients a day prior, but assemble the board just before serving to keep everything fresh.
What are some good cheese substitutes?
Cream cheese, goat cheese, or a nut-based vegan cheese can work well as substitutes for traditional cheeses.
How long can I store leftovers?
Store leftovers in the refrigerator in an airtight container for about 2-3 days.
Can I include homemade dips?
Absolutely! Homemade dips like spinach artichoke or roasted red pepper can add a personal touch to your board.
How do I make my board look more festive?
Incorporate seasonal decorations, such as mini pumpkins or festive napkins, and use a mix of vibrant colors for the foods.
Final Thoughts
Creating a Halloween Charcuterie Board is a delightful way to celebrate the holiday with friends and family. It’s easy to put together, allows for creativity, and enhances any gathering with its fun and festive flair. Give this recipe a try, and watch as your gathering turns into a memorable Halloween celebration filled with delicious treats and good company!
PrintHalloween Charcuterie Board
A festive charcuterie board filled with colorful cheeses, cured meats, and Halloween-themed snacks, perfect for gatherings.
- Prep Time: 15 minutes
- Cook Time: 0 minutes
- Total Time: 15 minutes
- Yield: 6-8 servings
- Category: Appetizer
- Method: No Cooking
- Cuisine: French
- Diet: Vegetarian
Ingredients
- Assorted Cheeses (cheddar, brie, goat cheese)
- Cured Meats (salami, prosciutto, pepperoni)
- Crackers and Breadsticks
- Olives and Pickles
- Fresh Fruits (grapes, apples) and Dried Apricots
- Nuts (almonds, walnuts)
- Chocolate Treats (candy corn, Halloween-themed chocolates)
- Vegetable Sticks (carrots, celery, bell pepper)
- Dips (hummus, guacamole)
Instructions
- Choose your board: Select a large cutting board or platter to arrange your charcuterie.
- Add meats and cheeses first: Place the larger items onto the board.
- Fill in with crackers: Distribute various crackers and breadsticks around the meats and cheeses.
- Add fruits and nuts: Cluster groups throughout the board.
- Incorporate pickles and dips: Use small bowls or place them directly on the board.
- Finish with seasonal treats: Scatter Halloween-themed chocolates or candy corn.
- Serve with utensils: Provide small utensils for easy grabbing.
Notes
Use vibrant colors and seasonal decorations to enhance presentation.