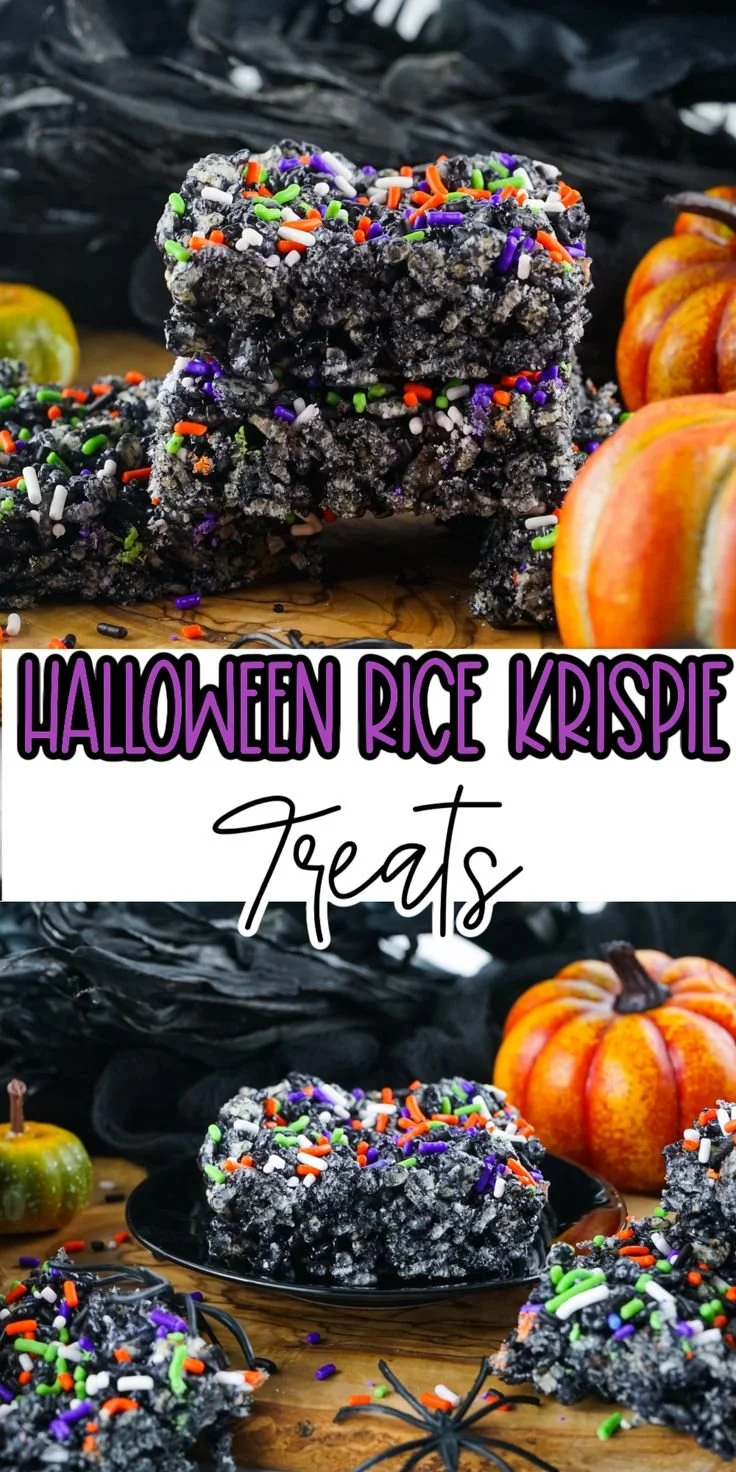
If you’re looking for a delightful treat to celebrate the season, these Halloween Rice Krispie Treats are perfect for you. Their simplicity, combined with a festive twist, makes them a fun and easy choice for both kids and adults. With just a few ingredients and minimal effort, you can create a sweet, gooey snack that will bring joy to any gathering or trick-or-treat event.
Why You’ll Love Halloween Rice Krispie Treats
- Quick and Easy: This recipe requires just a few steps and takes about 30 minutes from start to finish, making it perfect for last-minute treats.
- Customizable: You can add various toppings or mix-ins, such as sprinkles or chocolate, to fit the Halloween theme or your personal taste.
- Kid-Friendly: This is a fun recipe to make with kids. They’ll love helping to mix and shape the treats.
- Festive Appeal: The spooky decorations make these treats an eye-catching addition to any Halloween celebration.
- No-Bake: There’s no oven required, which is ideal for warm fall days or busy schedules.
Recipe Overview
- Prep Time: 10 minutes
- Cook Time: 5 minutes
- Total Time: 15 minutes
- Servings: 12 pieces
- Difficulty Level: Easy
Ingredients You’ll Need for Halloween Rice Krispie Treats
- 6 cups Rice Krispies cereal: The base for the treats, offering a satisfying crunch.
- 3 tablespoons butter: To help bind the treats and add richness; you can substitute with margarine if desired.
- 1 package (10 oz) mini marshmallows: The key to the gooey texture; you can also use 4 cups of mini marshmallows for a fluffier texture.
- 1/2 teaspoon vanilla extract: Optional, but it adds a delightful flavor.
- Halloween-themed sprinkles or edible decorations: For festive flair; feel free to get creative with various colors!
How to Make Halloween Rice Krispie Treats
- Melt the Butter: In a large saucepan over low heat, add the butter. Stir until it’s completely melted.
- Add Marshmallows: Once the butter is melted, add the mini marshmallows to the pan. Stir occasionally until the marshmallows are fully melted and smooth.
- Stir in Vanilla: If you’re using vanilla extract, add it to the melted marshmallow mixture and stir until combined.
- Combine with Cereal: Remove the pan from heat. Gradually add the Rice Krispies cereal to the marshmallow mixture, stirring carefully until the cereal is evenly coated.
- Press into a Pan: Line a 9×13-inch baking dish with parchment paper. Pour the cereal mixture into the dish and press it down firmly with a spatula or wax paper to create an even layer.
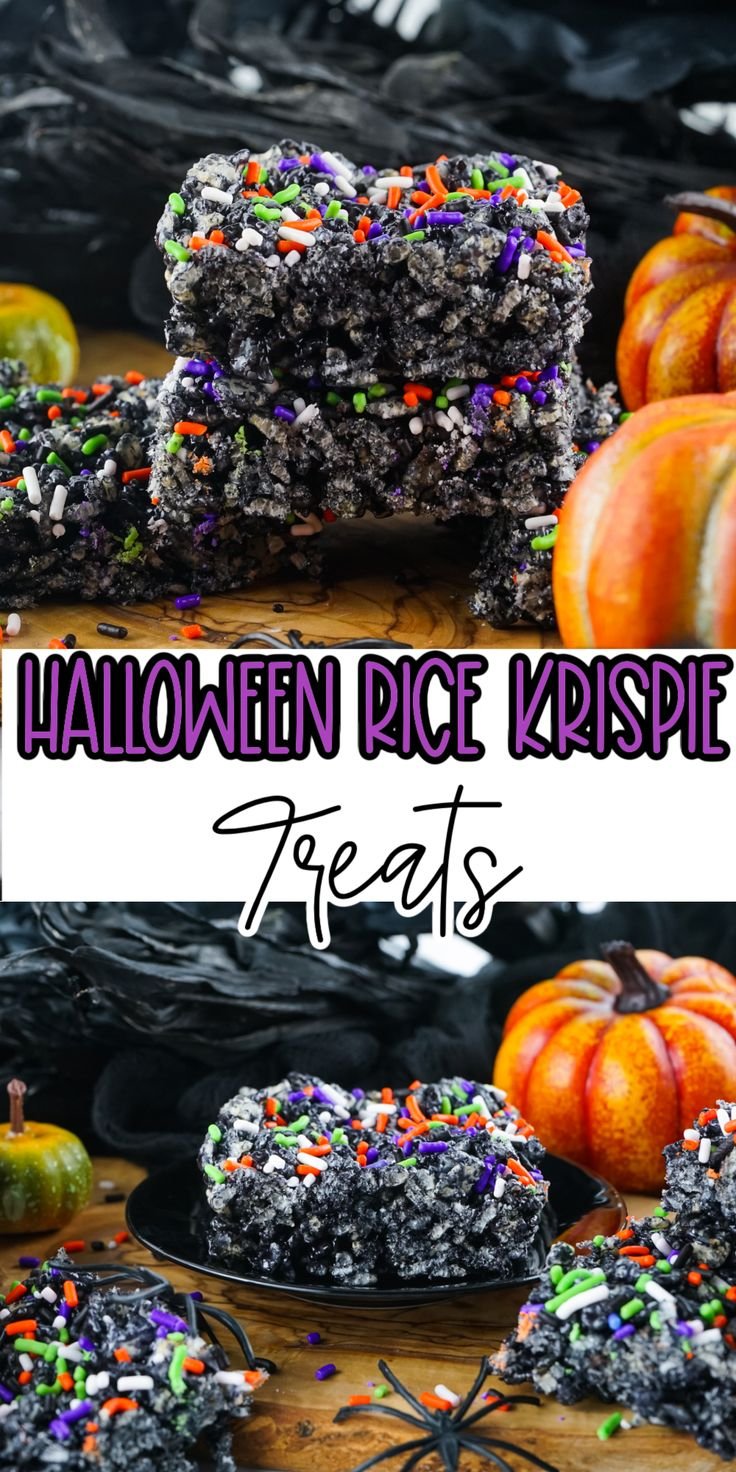
- Add Decorations: While the mixture is still warm, sprinkle Halloween-themed decorations on top and gently press them in for better adherence.
- Cool and Cut: Allow the treats to cool at room temperature for about 30 minutes. Once set, cut into squares or shapes as desired.
Tips for Success
- Low Heat is Key: Make sure to melt the butter and marshmallows on low heat to avoid burning them.
- Don’t Overmix: Mix the cereal in just until it’s coated to keep the treats from becoming too dense.
- Use Parchment Paper: Lining the pan with parchment makes it easier to lift out the treats after they cool.
- Press Firmly: When packing the cereal mixture into the pan, use firm pressure to help the treats hold together.
- Experiment with Flavors: Try adding a pinch of cinnamon or pumpkin spice to the melted marshmallows for a seasonal twist.
Easy Variations
- Chocolate Drizzled: Melt dark or white chocolate and drizzle it over the cooled treats for an added layer of flavor.
- Peanut Butter Swirl: Stir in 1/2 cup of creamy peanut butter with the marshmallows for a nutty flavor.
- Fruit & Nut Mix: Add dried cranberries or chopped nuts for an interesting texture and taste.
- Colorful Marshmallows: Use colored marshmallows or candy corn to enhance the festive look.
- Theme Shapes: Use cookie cutters to cut out fun Halloween shapes, like ghosts or pumpkins.
What to Serve with Halloween Rice Krispie Treats
- Hot Chocolate: The sweet treats pair perfectly with a warm cup of hot chocolate, providing a cozy feel.
- Halloween Punch: A spooky-themed drink adds to the festive atmosphere.
- Mini Pumpkin Muffins: Serve with some homemade pumpkin muffins for a delicious variety.
- Caramel Apples: The combination of textures and flavors with caramel apples for a classic fall treat works well.
Storage and Reheating
- Refrigerator Storage: Store the Rice Krispie Treats in an airtight container at room temperature for up to a week.
- Freezer Storage: You can freeze them for up to three months. Wrap them tightly in plastic wrap and then place them in a freezer-safe bag.
- Best Reheating Method: If they’ve become a bit hard, you can warm them in the microwave for a few seconds to soften. Avoid reheating multiple times to preserve texture.
- Meal Prep Note: These treats are excellent for meal prep; you can make them ahead for parties or school events.
Common Mistakes to Avoid
- Using High Heat: Melting the marshmallows on high heat can cause them to burn or become gritty.
- Not Pressing Firmly Enough: Failing to press the mixture firmly into the pan can lead to crumbly treats.
- About Cutting Too Soon: Let the treats cool completely to avoid a sticky mess when cutting.
- Skipping the Decorations: Not adding sprinkles or decorations can make them less festive, so remember to have fun with this step!
Halloween Rice Krispie Treats: Background & Cultural Inspiration
Rice Krispie Treats have a long-standing tradition in American kitchens, combining simple ingredients to create a beloved sweet. The idea of adding a spooky spin to these treats during Halloween captures the playful spirit of the holiday, where families come together for fun activities. The versatility of this treat allows for creativity, making it a canvas for endless flavor and decorative possibilities. By incorporating seasonal elements, these treats become more than just a snack; they celebrate the joy and magic of Halloween.
Frequently Asked Questions
Can I use different cereals?
Yes, you can try different cereals like Cocoa Krispies or Fruity Pebbles for unique flavors and colors.
How do I make these gluten-free?
Ensure that you use certified gluten-free Rice Krispies and check that your marshmallows do not contain gluten.
What can I substitute for marshmallows?
You can use marshmallow fluff as an alternative, but adjust the quantity accordingly.
Can I prepare these ahead of time?
Absolutely! You can make these treats a day or two in advance; just store them in an airtight container.
How do I prevent the treats from getting hard?
Avoid exposing the treats to air by keeping them well-wrapped. Also, adding a bit more marshmallow or butter can help keep them chewy.
Final Thoughts
These Halloween Rice Krispie Treats are a delightful addition to your holiday celebrations, combining nostalgic flavors with a festive twist. Their ease of preparation makes them a go-to choice for busy schedules, while the creative possibilities ensure everyone can make them their own. So gather your ingredients and enjoy the fun of making these treats with friends and family this spooky season!
PrintHalloween Rice Krispie Treats

These Halloween Rice Krispie Treats are a fun and easy treat perfect for celebrating the season, combining nostalgia with a festive twist.
- Prep Time: 10 minutes
- Cook Time: 5 minutes
- Total Time: 15 minutes
- Yield: 12 pieces
- Category: Dessert
- Method: No-Bake
- Cuisine: American
- Diet: Vegetarian
Ingredients
- 6 cups Rice Krispies cereal
- 3 tablespoons butter
- 1 package (10 oz) mini marshmallows
- 1/2 teaspoon vanilla extract (optional)
- Halloween-themed sprinkles or edible decorations
Instructions
- Melt the butter in a large saucepan over low heat until fully melted.
- Add the mini marshmallows and stir occasionally until melted and smooth.
- Stir in the vanilla extract, if using, until combined.
- Combine the Rice Krispies cereal gradually, stirring until evenly coated.
- Press the mixture into a lined 9×13-inch baking dish and compact it down evenly.
- Add Halloween-themed decorations on top while still warm, pressing them in gently.
- Cool at room temperature for about 30 minutes before cutting into squares.
Notes
Use parchment paper for easy removal from the pan, and melt marshmallows on low heat to avoid burning.