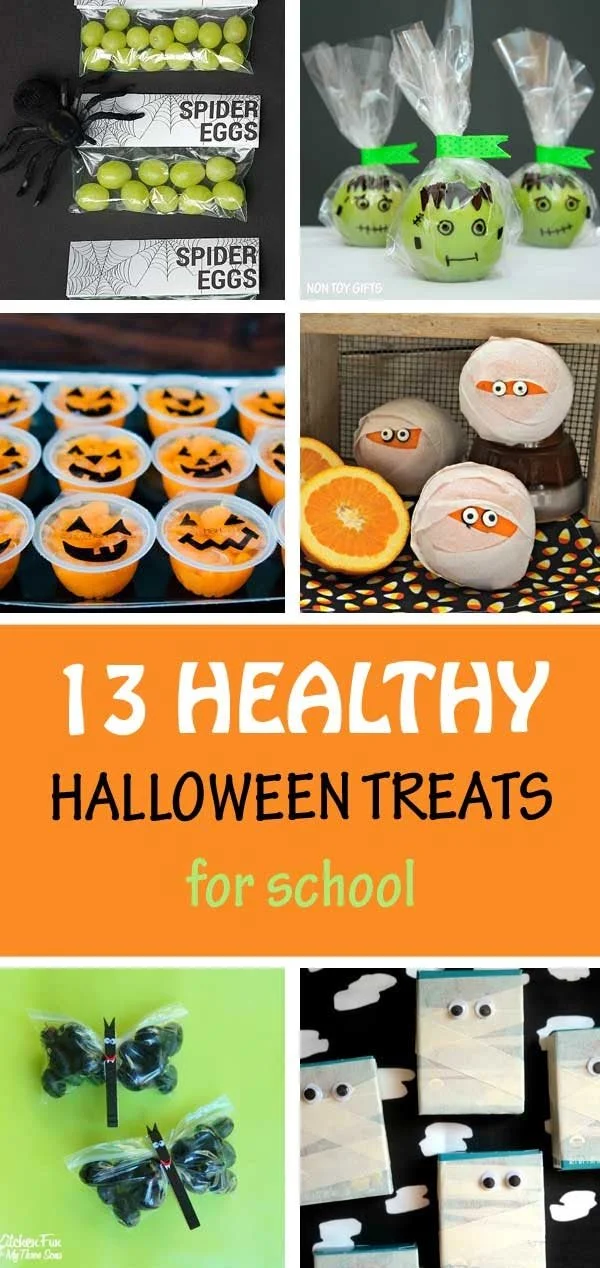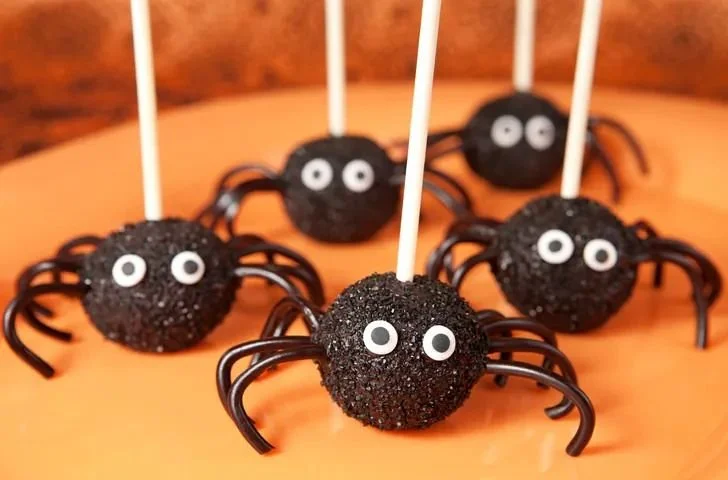
Cake pops have become a beloved treat, especially during festive seasons like Halloween. These delightful 12 Halloween cake pops are a fun and engaging way to celebrate with friends and family. They are easy to make and filled with sweetness, making them perfect for parties or simply enjoying at home.
Why You’ll Love 12 Halloween Cake Pops
- Simple Preparation: Crafted from a box cake mix, these cake pops are straightforward and perfect for beginners.
- Fun for All Ages: Decorating the cake pops can be a fun activity for kids and adults alike, bringing everyone together for some festive creativity.
- Versatile Flavors: You can mix and match cake flavors and frostings, allowing for various tastes to satisfy everyone’s sweet tooth.
- Eye-Catching Presentation: Adorned with sprinkles and themed decorations, these cake pops make a statement and are perfect for Halloween gatherings.
- Make-Ahead Option: You can prepare these cake pops in advance, making them a convenient treat for busy schedules.
Recipe Overview
- Prep Time: 30 minutes
- Cook Time: 30 minutes (plus refrigeration time)
- Total Time: 1 hour
- Servings: 20 cake pops
- Difficulty Level: Easy
Ingredients You’ll Need for 12 Halloween Cake Pops
- 1 box cake mix (any flavor): Choose your favorite cake flavor to suit your taste.
- 1 cup frosting (any flavor): Use a complementary frosting flavor for added moisture and sweetness.
- Chocolate coating or candy melts: Ideal for dipping; choose any color, especially festive Halloween colors.
- Lollipop sticks: Essential for holding the cake pops; easily found at craft or baking supply stores.
- Sprinkles or decorations: Use seasonal decorations for a fun, spooky touch, perfect for Halloween.
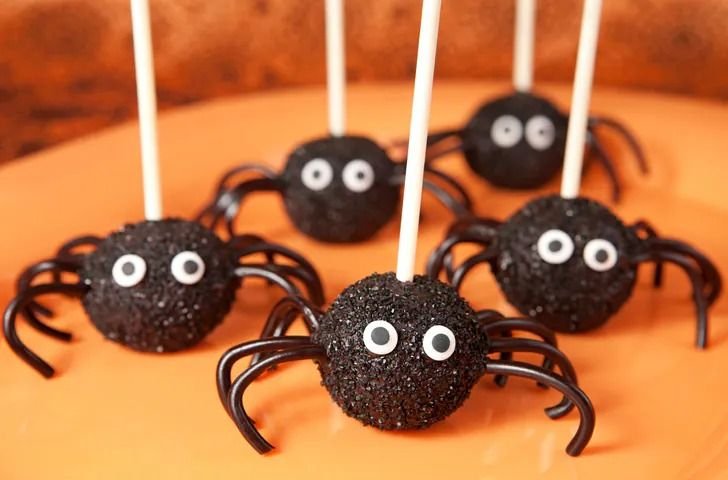
How to Make 12 Halloween Cake Pops
- Bake the Cake: Preheat your oven and bake the cake according to the package instructions. Once finished, allow it to cool completely.
- Crumble the Cake: In a mixing bowl, crumble the cooled cake into fine pieces and add the frosting. Mix until fully combined; you should achieve a dough-like consistency.
- Form Cake Balls: Scoop out small portions of the mixture and roll them into balls. Place the balls on a baking sheet lined with parchment paper.
- Insert Lollipop Sticks: After forming all the cake balls, gently insert a lollipop stick into each one. Refrigerate the cake pops for about 30 minutes to firm up.
- Melt the Coating: While the cake pops are chilling, melt the chocolate coating or candy melts in a microwave-safe bowl according to the packet instructions.
- Dip the Cake Pops: Remove the pops from the fridge, and dip each one into the melted coating, allowing any excess to drip back into the bowl.
- Decorate: Before the coating sets, sprinkle the top with Halloween-themed sprinkles or other decorations for a festive look.
- Set the Cake Pops: Place the finished cake pops upright in a foam block, a cake pop stand, or a jar for them to set perfectly.
Tips for Success
- Cooling Completely: Ensure the cake cools entirely before crumbling; otherwise, the mixture will be too moist.
- Uniform Size: Aim for uniform ball sizes to ensure even coating and a professional look.
- Temperature Control: Keep the coating at an appropriate consistency—too hot and it won’t stick, too cool and it may not coat smoothly.
- Choose the Right Sticks: Use sturdy lollipop sticks to prevent breaking during the coating and eating process.
- Setting Time: Allow ample time for the coating to set completely before serving to maintain the best texture.
Easy Variations
- Flavor Swaps: Experiment with red velvet or chocolate cake mix instead of vanilla for a deeper flavor profile.
- Dairy-Free Option: Use a dairy-free cake mix and frosting for a non-dairy version of this treat.
- Spooky Shapes: Instead of balls, shape the mixture into ghosts or pumpkin forms for a unique presentation.
- Flavor Infusions: Add a dash of vanilla extract or almond extract to the frosting for an extra flavor twist.
- Nutty Crunch: Incorporate finely chopped nuts or crushed cookies into the cake mixture for added texture.
What to Serve with 12 Halloween Cake Pops
- Hot Cocoa: This classic warm drink pairs well with the sweetness of cake pops and is perfect for fall.
- Spiced Apple Cider: Enhanced with cinnamon, this beverage complements the seasonal flavors of the cake pops.
- Halloween-Themed Cupcakes: Continue the festive vibe with cupcakes decorated to match the cake pop decorations.
- Fruit Platters: Fresh fruit adds a refreshing contrast to the sweetness of the cake pops and makes the dessert table vibrant.
- Halloween Cookies: Pair with decorated sugar cookies that align with the Halloween theme for an exciting dessert spread.
Storage and Reheating
- Refrigerator Storage: Store the cake pops in an airtight container in the fridge for up to 1 week.
- Freezer Storage: For longer storage, freeze the cake pops in a single layer on a baking sheet before transferring them to a freezer-safe container for up to 3 months.
- Reheating Method: These cake pops are best enjoyed chilled or at room temperature; avoid reheating as it may alter texture.
- Preserving Texture: If freezing, wrap each pop individually to maintain their coating and shape.
Common Mistakes to Avoid
- Overmixing the Cake: Be careful not to overwork the cake and frosting mixture, which can make the pops denser.
- Neglecting Refrigeration: Forgetting to chill the pops can lead to them falling off the sticks when coated.
- Inconsistent Coating: Ensure your melted coating is smooth but not too hot to avoid clumping or dripping.
- Too Many Decorations: While sprinkles are fun, overdoing it can make the pops too sweet and mask the cake’s flavor.
- Ignoring Texture: Pay attention to the consistency of your cake balls; they should hold together without being too wet or too dry.
12 Halloween Cake Pops: Background & Cultural Inspiration
Cake pops originated from the trend of repurposing leftover cake scraps, transforming them into delightful bite-sized treats. Their rise in popularity can be credited to their versatility and decorative potential, making them a festive favorite for various occasions, especially Halloween. Different cultures celebrate with sweet treats during this season, from classic pumpkin pies in the United States to sweet pastries enjoyed in Mexico for Día de los Muertos. This Halloween cake pop recipe captures the essence of festive gatherings, providing a fun and interactive way to enjoy a traditional dessert.
Frequently Asked Questions
Can I use homemade cake instead of box mix?
Yes, you can certainly use homemade cake. Just ensure it’s well-baked and cooled before crumbling.
How long can I store these cake pops?
Stored properly in an airtight container, they can last up to 1 week in the fridge or 3 months in the freezer.
Can I make these cake pops ahead of time?
Absolutely! These can be made a day or two in advance, which makes them convenient for parties.
Can I skip the lollipop sticks?
You can, but the sticks make for easy handling and presentation. Alternatively, use dessert cups or simply serve them as bite-sized balls.
What if my chocolate coating is too thick?
If your coating is too thick, gently reheat it in short intervals while stirring until it reaches a smooth consistency.
Final Thoughts
Making 12 Halloween cake pops is a delightful way to celebrate the spooky season. They are not only easy to prepare but also bring joy with their endless decorating possibilities. Perfect for both parties and casual gatherings, these cake pops will please both kids and adults alike. Try your hand at making these festive treats and enjoy the smiles they bring!
Print12 Halloween Cake Pops
Celebrate Halloween with these fun and easy cake pops, perfect for parties and festive gatherings.
- Prep Time: 30 minutes
- Cook Time: 30 minutes
- Total Time: 60 minutes
- Yield: 20 cake pops
- Category: Dessert
- Method: Baking
- Cuisine: American
- Diet: Vegetarian
Ingredients
- 1 box cake mix (any flavor)
- 1 cup frosting (any flavor)
- Chocolate coating or candy melts
- Lollipop sticks
- Sprinkles or decorations
Instructions
- Bake the cake: Preheat your oven and bake the cake according to the package instructions. Once finished, allow it to cool completely.
- Crumble the cake: In a mixing bowl, crumble the cooled cake into fine pieces and add the frosting. Mix until fully combined; you should achieve a dough-like consistency.
- Form cake balls: Scoop out small portions of the mixture and roll them into balls. Place the balls on a baking sheet lined with parchment paper.
- Insert lollipop sticks: After forming all the cake balls, gently insert a lollipop stick into each one. Refrigerate the cake pops for about 30 minutes to firm up.
- Melt the coating: While the cake pops are chilling, melt the chocolate coating or candy melts in a microwave-safe bowl according to the packet instructions.
- Dip the cake pops: Remove the pops from the fridge, and dip each one into the melted coating, allowing any excess to drip back into the bowl.
- Decorate: Before the coating sets, sprinkle the top with Halloween-themed sprinkles or other decorations for a festive look.
- Set the cake pops: Place the finished cake pops upright in a foam block, a cake pop stand, or a jar for them to set perfectly.
Notes
Ensure cake is cooled completely for best results. Refrigerate after forming for a firmer texture during dipping.