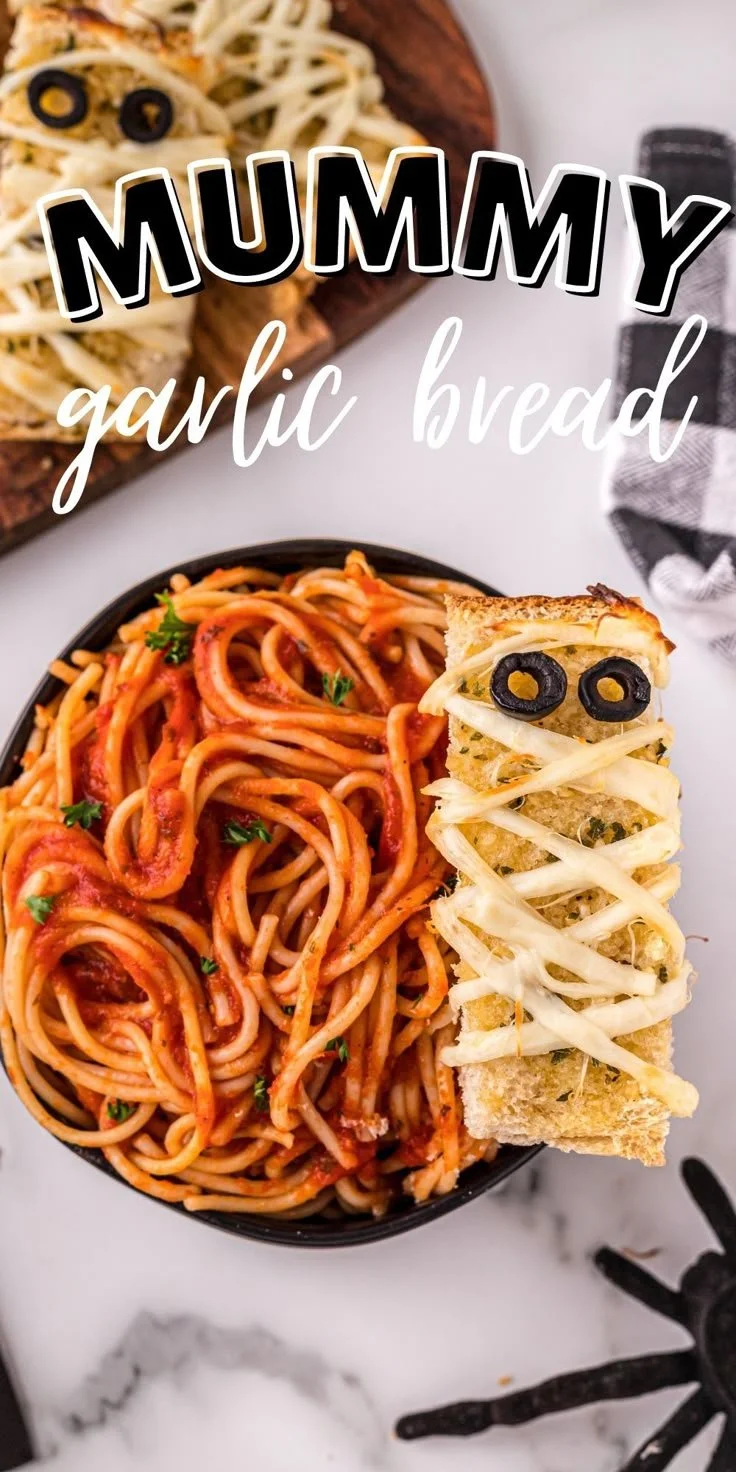
There’s something wonderfully comforting about making Garlic Mummy Bread, especially when Halloween rolls around. This playful recipe combines the simplicity of garlic bread with a fun spooky twist, making it an exciting treat for kids and adults alike. Not only is it delicious, but it also brings a festive spirit to any gathering or family meal.
Why You’ll Love Garlic Mummy Bread
- Playful Presentation: With its spooky “mummy” look, this bread is sure to be a hit at Halloween parties and gatherings. The black olive "eyes" make it particularly fun for kids.
- Quick and Easy: This recipe is incredibly easy to prepare, taking just a few simple steps that even novice cooks can handle. No advanced skills are required!
- Delicious Flavor: The garlic butter and melted mozzarella combine to create a rich, mouthwatering flavor that enhances any meal. It’s irresistible.
- Perfect for Sharing: This dish can be served as an appetizer or a side, making it great for sharing with friends and family.
- Customizable: You can easily adjust ingredients to fit your taste, such as adding different seasonings or cheeses, making it adaptable for everyone.
Recipe Overview
- Prep Time: 10 minutes
- Cook Time: 15 minutes
- Total Time: 25 minutes
- Servings: 4
- Difficulty Level: Easy
Ingredients You’ll Need for Garlic Mummy Bread
- 1 loaf of French bread
- 4 tablespoons of butter, softened
- 4 cloves of garlic, minced
- 1 teaspoon of Italian seasoning
- 1 cup of shredded mozzarella cheese
- Black olives, sliced (for eyes)
Here’s a quick tip: If you want to add a bit of a kick, consider using garlic powder instead of fresh garlic, although fresh gives a more vibrant flavor.
How to Make Garlic Mummy Bread
-
Preheat the Oven
Preheat your oven to 375°F (190°C) to ensure even cooking. -
Prepare the Garlic Butter
In a small bowl, mix the softened butter, minced garlic, and Italian seasoning until well combined. This will serve as the base flavor of your mummy bread. -
Slice the Bread
Carefully slice the loaf of French bread in half lengthwise. This creates a nice base for spreading the garlic butter. -
Spread the Garlic Butter
Use a spatula to spread the garlic butter mixture evenly over both halves of the bread. Make sure to cover the entire surface for maximum flavor. -
Add the Cheese
Sprinkle about 1 cup of shredded mozzarella cheese over the butter, creating a layered effect that resembles “bandages” on a mummy. Be generous for that gooey texture. -
Create the Eyes
Place the black olive slices on top of the cheese to form eyes. You can arrange them in any way you like! -
Bake the Bread
Bake the garlic mummy bread in the preheated oven for about 10-15 minutes. Look for the cheese to be melted and bubbly as an indicator it’s ready. -
Serve Warm
Once done, remove it from the oven, slice it into pieces, and serve warm. Enjoy the playful presentation!
Tips for Success
- Use Fresh Ingredients: Fresh garlic enhances the bread’s flavor more than dried or powdered alternatives.
- Don’t Over-bake: Keep an eye on the bread to prevent it from becoming too crispy; you want it to be soft with melted cheese.
- Customize the Cheese: Try mixing mozzarella with other cheeses like cheddar or fontina for varied flavors.
- Gather All Ingredients First: Having everything ready will streamline the preparation process and keep it fun.
Easy Variations
- Herb-Infused Butter: Mix in herbs like rosemary or thyme with the garlic butter for added flavor.
- Add Veggies: Incorporate thinly sliced tomatoes or bell peppers under the cheese for a veggie boost.
- Spicy Option: Add a pinch of red pepper flakes to the garlic butter for a bit of heat.
- Cheesy Mix: Combine mozzarella with provolone or gouda for a richer taste.
What to Serve with Garlic Mummy Bread
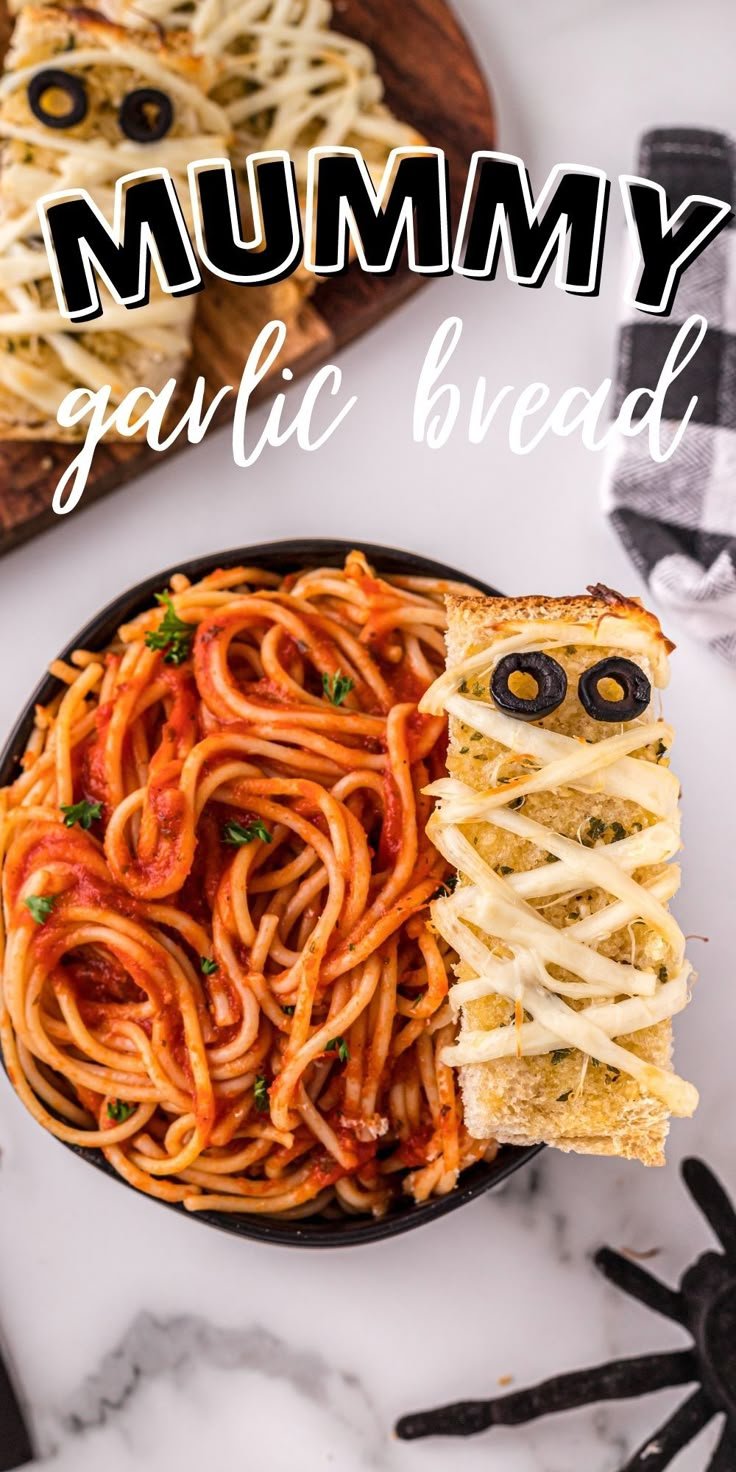
- Spaghetti: This pair is classic; the garlic bread complements a garlicky tomato sauce beautifully.
- Salad: Serve with a simple greens salad with a vinaigrette for a fresh contrast.
- Pumpkin Soup: The warm soup and garlic bread create a cozy meal, especially in the fall.
- Charcuterie Board: Add to a charcuterie board for a delightful food spread at gatherings.
Storage and Reheating
- Refrigerator Storage: Store any leftovers in an airtight container in the refrigerator for up to 3 days.
- Freezer Storage: You can freeze the uneaten bread by wrapping it tightly in foil or plastic wrap for up to a month.
- Reheating: Reheat in a 350°F (175°C) oven for about 10 minutes to maintain the bread’s texture.
- Meal Prep Note: You can prepare the garlic butter ahead and refrigerate, making assembly quicker one baking day.
Common Mistakes to Avoid
- Not Preheating the Oven: This can affect the baking time and result in unevenly cooked bread.
- Using Cold Butter: Make sure your butter is softened to ensure even spreading.
- Overcrowding the Cheese: Adding too much cheese may prevent it from melting uniformly; the layer should be significant but not excessive.
Garlic Mummy Bread: Background & Cultural Inspiration
This playful recipe derives its concept from the festive spirit of Halloween, where food often takes on a fun and spooky twist. Garlic bread itself has roots in Italian cuisine, known for its simplicity and bold flavors. The combination of garlic, butter, and crusty bread has made it a beloved dish worldwide. By incorporating a Halloween aesthetic, this recipe allows families to engage in holiday traditions through food, making mealtimes a bit more magical.
Frequently Asked Questions
Can I make this recipe ahead of time?
Yes, you can prepare the garlic butter and slice the bread in advance. Assemble everything just before baking for best results.
Can I use a different type of bread?
Absolutely! Baguette or Italian bread will work wonderfully as substitutes for French bread.
How can I make it dairy-free?
You can substitute the butter with a dairy-free margarine and use dairy-free cheese.
What if I don’t like olives?
If olives aren’t your preference, you can skip them or replace them with sliced cherry tomatoes for a pop of color.
Can I add meat to this recipe?
Sure! You can add cooked bacon bits or shredded chicken under the cheese for a heartier version.
Final Thoughts
Garlic Mummy Bread strikes a perfect balance between fun and flavor, making it an ideal addition to your Halloween festivities or a simple family dinner. With its quick preparation and delightful taste, it’s sure to become a seasonal favorite. Try making this whimsical dish, and watch how it brings joy and excitement to your mealtime!
PrintGarlic Mummy Bread
A playful twist on garlic bread, perfect for Halloween with its spooky mummy appearance and rich flavor.
- Prep Time: 10 minutes
- Cook Time: 15 minutes
- Total Time: 25 minutes
- Yield: 4 servings
- Category: Appetizer
- Method: Baking
- Cuisine: Italian
- Diet: Vegetarian
Ingredients
- 1 loaf of French bread
- 4 tablespoons of butter, softened
- 4 cloves of garlic, minced
- 1 teaspoon of Italian seasoning
- 1 cup of shredded mozzarella cheese
- Black olives, sliced (for eyes)
Instructions
- Preheat your oven to 375°F (190°C).
- Mix the softened butter, minced garlic, and Italian seasoning until well combined.
- Slice the loaf of French bread in half lengthwise.
- Spread the garlic butter mixture evenly over both halves of the bread.
- Sprinkle about 1 cup of shredded mozzarella cheese over the butter.
- Add the black olive slices on top of the cheese to form eyes.
- Bake the garlic mummy bread for about 10-15 minutes, until the cheese is melted and bubbly.
- Serve warm, sliced into pieces.
Notes
Use fresh garlic for the best flavor and keep an eye on the baking to avoid over-crisping.