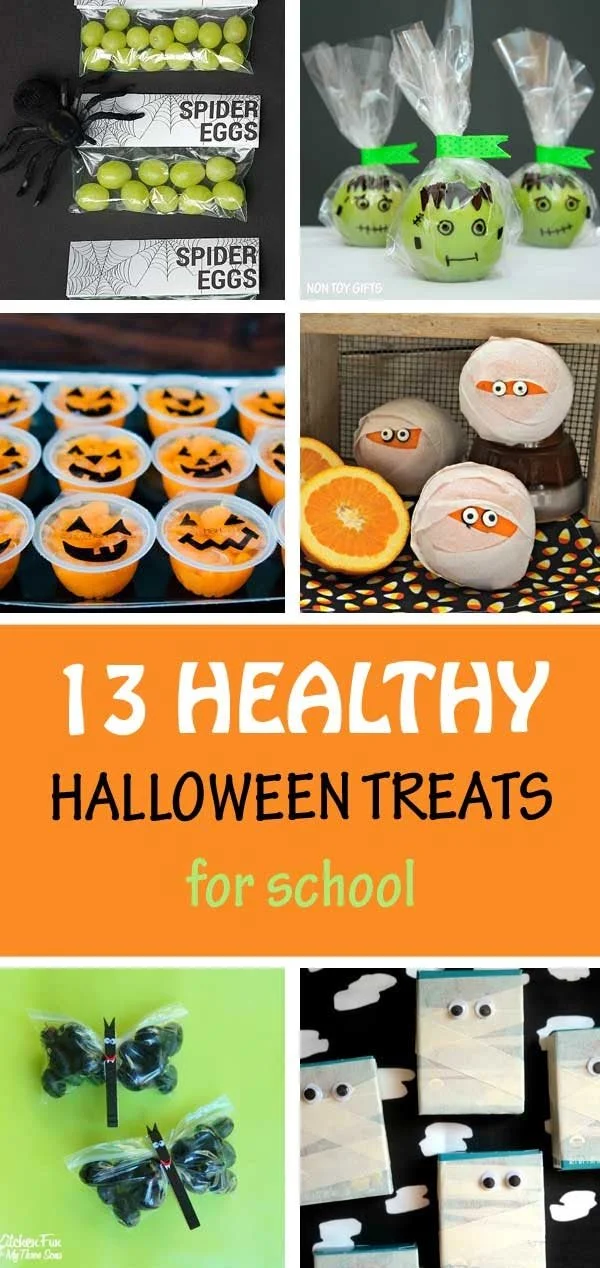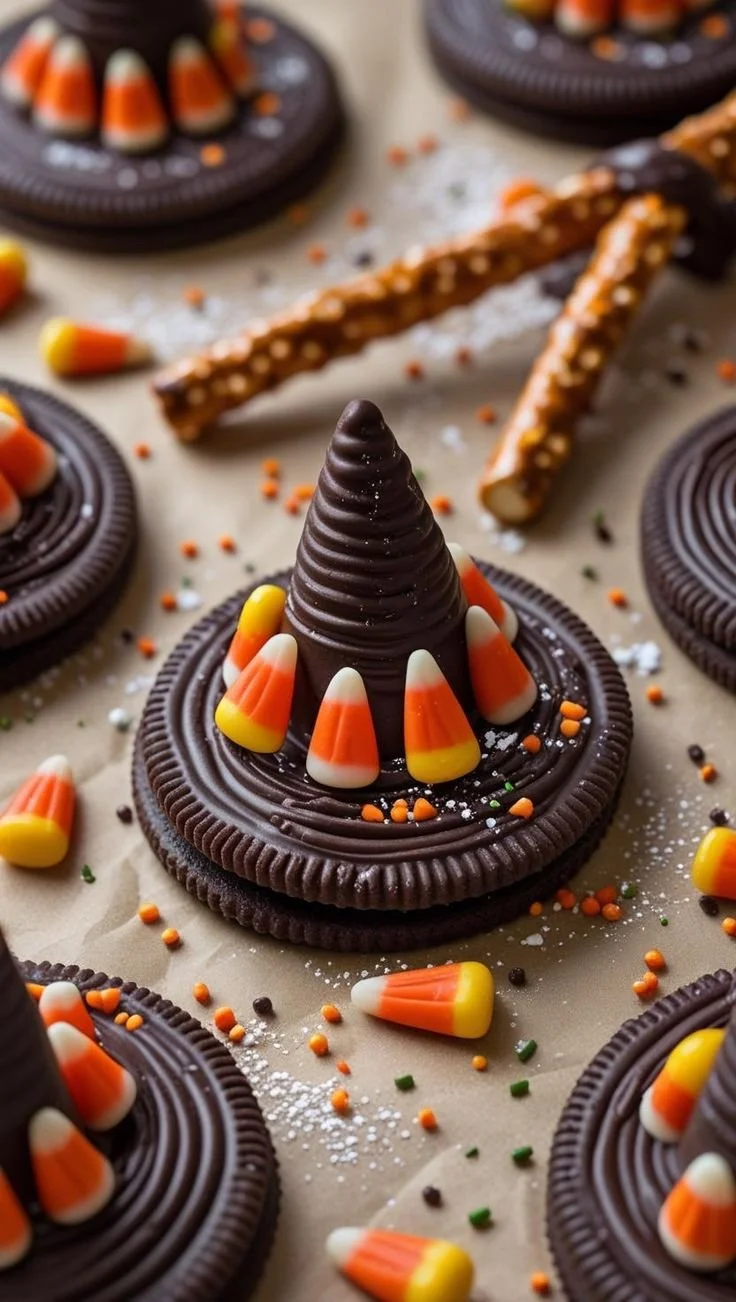
Edible Witch Hat & Broom Treats offer a delightful twist on Halloween snacks that are as fun to make as they are to eat. This charming recipe transforms everyday ingredients into whimsical treats perfect for parties or cozy gatherings. With a simple assembly process and plenty of room for creativity, these treats are sure to bring smiles this spooky season.
Why You’ll Love Edible Witch Hat & Broom Treats
- Easy to Make: Simplistic steps allow even novice cooks to craft these playful treats with confidence.
- Minimal Ingredients: This recipe requires just a few common items, making it budget-friendly and accessible.
- Interactive Fun: Kids can participate in making these treats, bringing a fun family activity to your Halloween celebrations.
- Customizable Designs: Use different chocolates or toppings to create unique variations of witch hats and brooms.
- Perfect for Parties: These eye-catching snacks fit seamlessly into Halloween festivities, adding a playful touch to any spread.
Recipe Overview
- Prep Time: 15 minutes
- Cook Time: 5 minutes
- Total Time: 20 minutes
- Servings: 12 treats
- Difficulty Level: Easy
Ingredients You’ll Need for Edible Witch Hat & Broom Treats
-
For the Witch Hats:
- Cookies (e.g., Oreo or any round cookie) – the base for the hats
- Hershey Kisses – to form the "hat" of the witch
- Melted chocolate (for attaching) – acts as glue to hold the pieces together
-
For the Brooms:
- Pretzel sticks – serve as the handle of the broom
- String cheese or Peanut Butter Cups – for the brush part of the broom
-
Optional:
- Food coloring or sprinkles for decoration – add an extra festive touch if desired
here
How to Make Edible Witch Hat & Broom Treats
Step 1: Prepare the Witch Hats
- Create the Base: Start by placing a cookie on a flat surface.
- Add Chocolate: Dollop some melted chocolate in the center of the cookie. This acts as the glue for your witch hat.
- Form the Hat: Gently press a Hershey Kiss into the chocolate until secure. Allow it to set for a few minutes.
Step 2: Assemble the Brooms
- Prepare the Pretzel: Take a pretzel stick and hold it so the end is facing down.
- Attach the Broom Head: Dip one end of the pretzel stick in melted chocolate, then attach either a piece of string cheese or a Peanut Butter Cup to create the broom bristles. Hold for a moment to ensure it sticks.
- Serve Together: Arrange the witch hats and brooms on a platter for a fun, thematic snack!
Tips for Success
- Melt Chocolate Carefully: Use a microwave in short bursts to avoid burning the chocolate.
- Use Fresh Ingredients: Ensure your cookies and chocolate are fresh for the best flavor and texture.
- Let It Set: Allow the chocolate to fully dry and set for sturdy treats that won’t fall apart.
- Chill for Faster Setting: If you’re in a hurry, place assembled treats in the fridge for a quick set.
- Keep It Clean: Use a toothpick to help control melted chocolate application for a cleaner look.
Easy Variations
- Chocolate Choice: Use colored melting chocolate for a more vibrant look.
- Different Cookies: Swap cookies for graham crackers or any circular cookie for a unique flavor.
- Vary the Broom: Try using candy corn or licorice for different broom textures.
- Spooky Sprinkles: Add Halloween-themed sprinkles for extra flair.
- Savory Twist: Experiment by using cheese-flavored crackers instead of sweet cookies with savory toppings for a different take.
What to Serve with Edible Witch Hat & Broom Treats | Easy & Adorable Halloween Snacks
- Hot Apple Cider: This warm drink complements the sweetness of the treats.
- Pumpkin Spice Cookies: These classic cookies enhance the festive spirit of Halloween.
- Chocolate Pudding Cups: Add more dessert variety to your treats table.
- Fruit Skewers: Balance the sweetness with fresh fruit options for light snacking.
- Spooky-themed Punch: A Halloween punch can elevate the theme of your snack table.
Storage and Reheating
- Refrigerator Storage: Keep leftover treats in an airtight container in the fridge for up to 3 days.
- Freezer Storage: For longer storage, freeze the treats on a baking sheet until solid, then transfer to a sealed bag for up to 1 month.
- Best Reheating Method: If stored in the fridge, let sit at room temperature for a few minutes before enjoying; no reheating is necessary.
- Texture Preservation: Keep them stored carefully to avoid smooshing the hats or brooms.
Common Mistakes to Avoid
- Overheating Chocolate: Use short bursts when melting chocolate to prevent burning.
- Forgetting to Let Set: Don’t skip the setting time—this helps maintain their structure.
- Using Too Much Chocolate: A little goes a long way; too much can make the treats overly sweet and messy.
- Not Involving Kids: Forgetting to involve younger family members means missing out on a fun activity.
- Skipping the Decorations: Simple sprinkles or coloring can make a significant visual impact—don’t overlook this step!
Edible Witch Hat & Broom Treats: Background & Cultural Inspiration
Edible Witch Hat & Broom Treats are a playful homage to Halloween traditions, embodying the fun and creativity of the holiday. Halloween, originally a Celtic festival called Samhain, evolved to incorporate various cultural practices over the centuries, including the celebration of ghosts and witches. These treats draw on the whimsical imagery often portrayed in Halloween folklore, combining the festive spirit with accessible ingredients that bring families together. The simplicity of these snacks invites everyone to participate, making this delightful Halloween recipe a cherished tradition in many households.
Frequently Asked Questions
Can I make these treats in advance?
Yes, you can prepare the components a day ahead and assemble them closer to serving time for freshness.
What if I can’t find Hershey Kisses?
You can substitute any small chocolate candy or even large chocolate chips that have a similar shape.
How can I customize the hats and brooms?
Feel free to use different types of candy or chocolate to create unique designs, or decorate with sprinkles for an extra festive touch.
Is this recipe gluten-free?
To make this recipe gluten-free, choose gluten-free cookies and ensure all other ingredients are certified gluten-free.
Can I use different kinds of candy for brooms?
Absolutely! You can experiment with various candies to create different broom textures and flavors.
Final Thoughts
Edible Witch Hat & Broom Treats are not only a hit with kids and adults alike, but they’re also a straightforward way to celebrate the Halloween spirit in the kitchen. This recipe embraces creativity and fun while offering a delightful snack that can easily become a family favorite. So gather your ingredients and get ready to craft some spooky treats that everyone will enjoy this Halloween!
PrintEdible Witch Hat & Broom Treats
Delightful Halloween snacks that are fun to make and eat, perfect for parties or gatherings.
- Prep Time: 15 minutes
- Cook Time: 5 minutes
- Total Time: 20 minutes
- Yield: 12 treats
- Category: Dessert
- Method: No-Bake
- Cuisine: American
- Diet: Vegetarian
Ingredients
- Cookies (e.g., Oreo or any round cookie) – the base for the hats
- Hershey Kisses – to form the “hat” of the witch
- Melted chocolate (for attaching) – acts as glue to hold the pieces together
- Pretzel sticks – serve as the handle of the broom
- String cheese or Peanut Butter Cups – for the brush part of the broom
- Food coloring or sprinkles for decoration – optional for an extra festive touch
Instructions
- Create the Base: Start by placing a cookie on a flat surface.
- Add Chocolate: Dollop some melted chocolate in the center of the cookie. This acts as the glue for your witch hat.
- Form the Hat: Gently press a Hershey Kiss into the chocolate until secure. Allow it to set for a few minutes.
- Prepare the Pretzel: Take a pretzel stick and hold it so the end is facing down.
- Attach the Broom Head: Dip one end of the pretzel stick in melted chocolate, then attach either a piece of string cheese or a Peanut Butter Cup to create the broom bristles. Hold for a moment to ensure it sticks.
- Serve Together: Arrange the witch hats and brooms on a platter for a fun, thematic snack!
Notes
Involve kids for an interactive experience and try different candies for custom designs.